Hi!
I get excited when it comes to screens and cool visuals, so for this assignment, I have decided to use Touch Designer and Arduino.
This is an extremally rough sketch that I have in my mind so far:
Hi!
I get excited when it comes to screens and cool visuals, so for this assignment, I have decided to use Touch Designer and Arduino.
This is an extremally rough sketch that I have in my mind so far:
Hi!
for this project, in my imaginations I thought of a museum with a "mellow" light going on, where by approaching the work, one would activate some sort of spotlight and would light up the works being displayed.
I chose to work with this color changing lamp because of 1.the "hue" gives attention to the work. 2.It already switches colors by turning on (so it just looks pretty while I don't need to do complicating stuff).
I used a guinea pig art work as an example below to display how this gallery would operate. By approaching the art, the lamp that is controlled by an ultrasonic motion sensor will light up!
Hi !
for this week, I am planning on doing something extra cool by combining what I have learned from both OBDF and MADT !
Object design wise, I am planning on modelling a stacked light bulb, and inside it I will be inserting a "real" light bulb.
💡I had my lightbulb moment when I found this💡 :
So I thought to myself "It would be sick to model a lamp and put a real working lamp inside it"
Sketch wise:
I will most likely make a base for it as I feel it would be a safer option if I am going to make it interactive (for later!)
Hi !
This week we learned more cool stuff in class, I decided to go on YouTube in order to both refresh my memory and learn some extra things for this project.
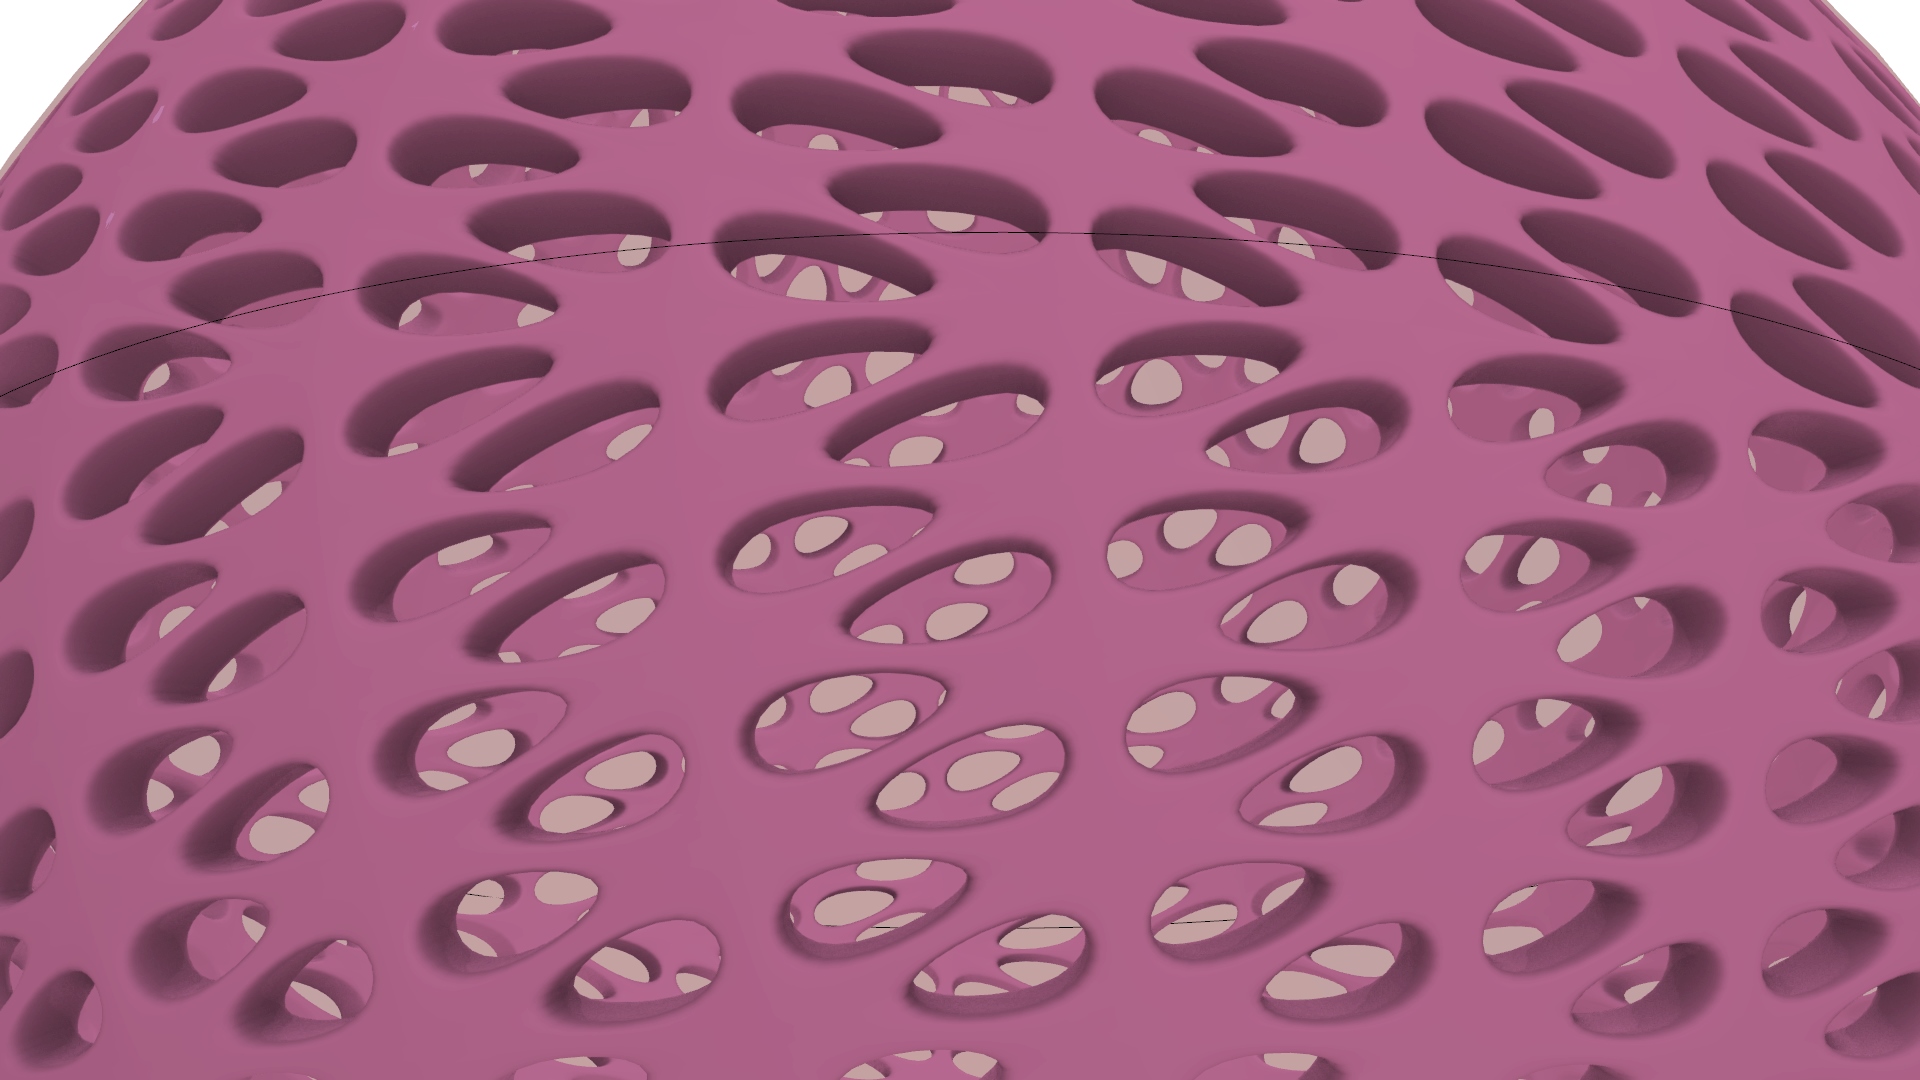
I ended up learning about Weaverbird plugin and by using that, I tried to give this vase more "personality"💅.
This is the vase that I have made + the definition before animating it :
Hi again!
So I struggled A LOT and am still confused about why I can’t get this thing to work. It is not interactive yet, looks more like an artifact representing my failure. Here is two different photos with two different attempts that ended up not working unfortunately.
First attempt:
Second attempt:
I am currently working on the third attempt and when it is finished I will post the final code here as well (can’t wait)
3RD UPDATE:
I GOT SOMETHING WORKING, it is not a 100 percent yet but I am pretty proud so far.
video:
Hi, this is my Blink:
This is my code:
// Blink: Turns LED on for a second, then off for a second//pin 13 nameint led = 13;//setup routine runs once when reset is pressedvoid setup() {//initialize the digital pin as an outputpinMode(led, OUTPUT) ;}//the loop routine runs over and over again :void loop() {digitalWrite(led,HIGH); //turn LED ondelay(500) ; //waits a seconddigitalWrite(led,LOW); //turn the LED offdelay(500); //waits a second}
Hi !
This is my wavy, slimy looking work that I have been working on.
Here is the final work:
It all started from here:
I am also glad that I was following along in class last week as it made me more familiar with the tools and their functions in grasshopper. It also made following the tutorials less intimidating!
I learned that the best way for me to understand and "memorize" how things work in grasshopper is by taking notes and drawings. following my notes has been helpful to refresh my memory as well.
Hi again, This is a little someting something I made Touch Designer progress: This week, I created a (demo) moving liquid situation on to...